Using Arduino as coin acceptor sensor
First, make sure you installed the latest software image from our website. Software images before version 3.0.77 will not work.
Step 1: Install “pyserial” debian package into RPI
METHOD 1. USING SSH ACCESS
Enable SSH Service in your machine in Services tab.
For Windows users, you need to download and use putty to access SSH service of your RPI. Don’t forget to turn off SSH service after installing pyserial.
METHOD 2. USING MONITOR AND KEYBOARD
Hook up an HDMI monitor and keyboard to RPI.
Then restart RPI.
When presented with login screen, use the following username/password combination:
Username: pi
Password: raspberry
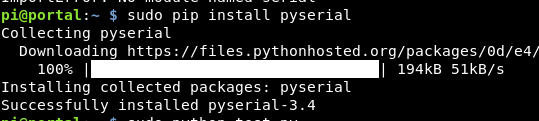
After successful login, type:
sudo pip install pyserial
Step 2: Arduino Programming
Upload the following program into your arduino. Follow this guide if you don’t know how to upload a program to arduino.
// change this to whichever pin you connect the coin/white wire for coin acceptor
int PIN_IN   = 11;

int switchState = 0;
int pulseCount = 0;
int prevState = 1;

// you can try to lower this to make counting of pulse faster
int MaxElapsedTime = 500;

unsigned long StartTime = millis();

void setup() {
  // put your setup code here, to run once:
  Serial.begin(9600);
  pinMode(PIN_IN, INPUT);
}

void loop() {

  switchState = digitalRead(PIN_IN);

  if (switchState == LOW && prevState == HIGH) {
    if (pulseCount == 0) {
      // Report payment started
      Serial.println("PS");
    }
    pulseCount = pulseCount + 1;
    StartTime = millis();
  }
  else {

    unsigned long CurrentTime = millis();
    unsigned long ElapsedTime = CurrentTime - StartTime;

    if (ElapsedTime > MaxElapsedTime && pulseCount > 0) {
      // Report total pulses to computer;
      Serial.println(pulseCount);
      pulseCount = 0;
      StartTime = millis();
    }
  }

  prevState = switchState;

}
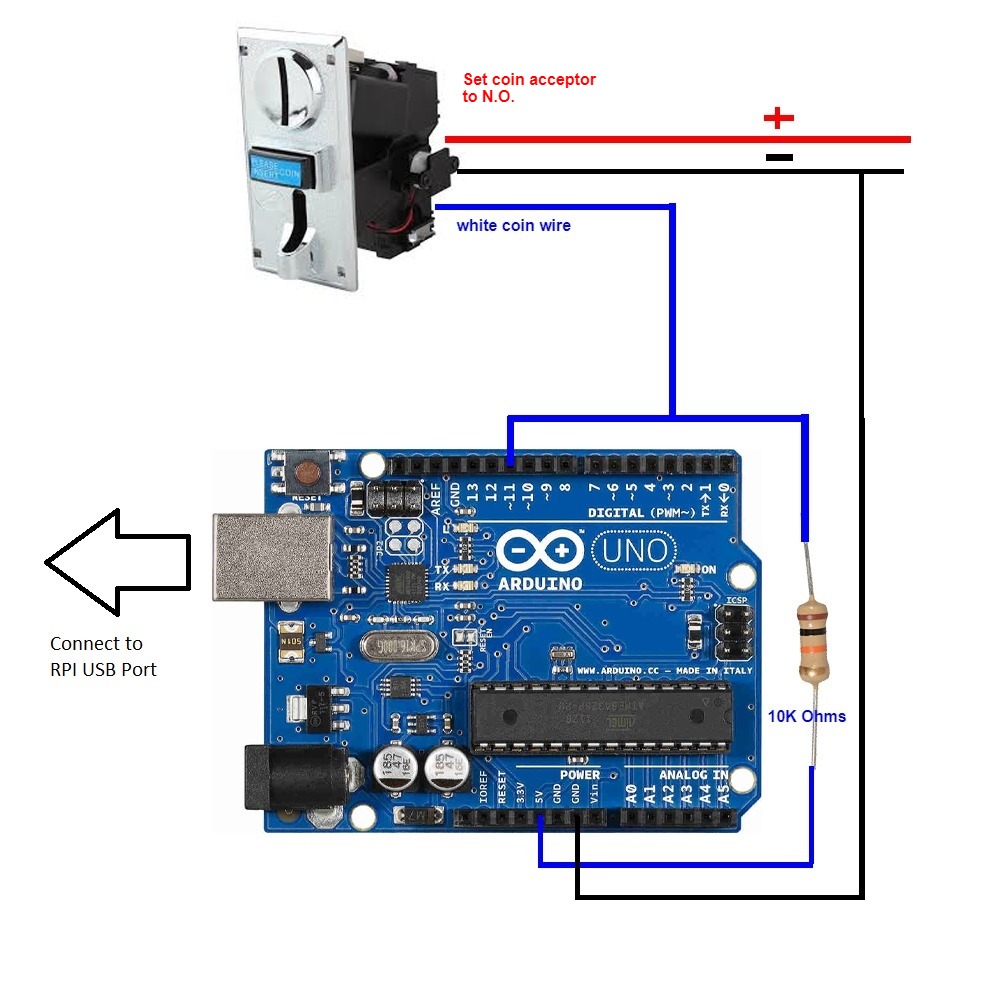
Step 3: Wiring Diagram
Connect the wirings according to the diagram:
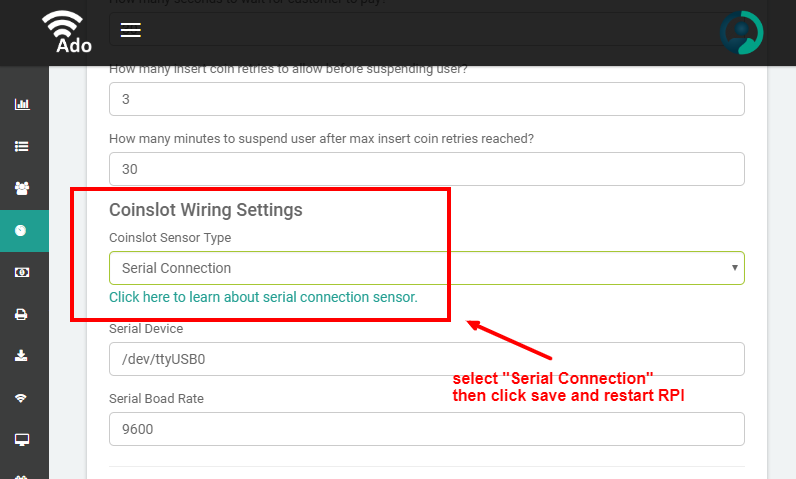
Step 4: Configure AdoPiSoft to Use Serial Connection
Login to machine’s admin interface and go to Timer Settings.
Lastly, connect your arduino using the provided usb cable to your RPI. Then power on RPI and test your setup.
If you have problem following this guide, don’t hesitate to post in our forum.